Install Apache and Set Up PHP5 With It
This is a follow up article about how to install apache and php5 together. Earlier we installed php5 on Windows XP on local computer. Now let’s install and configure Apache to run locally on your computer.
Apache installation
Go to http://httpd.apache.org/download.cgi and download latest apache version. As of the day writing this post, the version you need to download is Win32 Binary without crypto (no mod_ssl) (MSI Installer): Just be sure it’s msi installer.
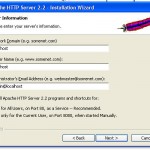
Start the installer and do the usual steps until page Server Information. Put localhost for Network domain and Server name fields. Type any email you want for Administrator’s email address. Press next.
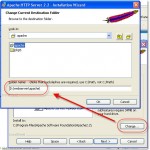
In the next window choose Custom to change the installation directory to D:\webserver\apache (create new folder “apache”)
Press Next and Install.
Once apache is installed you can set up php support. Open httpd.conf file from Start->Apache…->Configure apache server->Edit…

Apache uses this text file for configuration. Scroll down until you see many LoadModule lines. Write a new line:
LoadModule php5_module d:/webserver/php5/php5apache2_2.dll
This enables php5 for Apache server
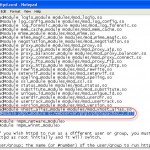
Then find (Ctrl+F) DirectoryIndex and add index.php in the line (see screenshot)

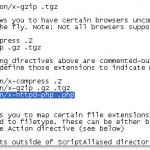
Finally search for line AddType and add this line: AddType application/x-httpd-php .php like in the screenshot:
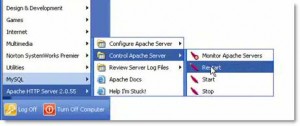
Save the changes and restart apache to make effect.
Now check that your php is working properly.
Open Notepad and paste this code:
<?php
phpinfo();
?>
Save the file with name phpinfo.php (make sure no .txt is added at the end of this file; choose Save as Type = All files in Notepad when saving) and put it in D:\webserver\apache\htdocs folder. This is where all your webfiles will be stored.
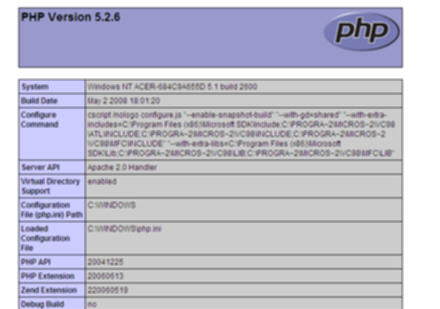
Open any browser of your choise and type http://localhost/phpinfo.php in the address bar. If you see a big page full of php information this means php works and was installed correctly.
